Tuesday, April 30, 2013

Shirts for Benjamin

Benjamin's summer shorts from last year still fit, but he needed a few more short sleeved shirts.  After seeing this free pattern (in the right size, even!) I decided I could make them myself.  I made one out of an old shirt of Seth's, which worked great and was super quick and easy, since I didn't have to do any hems.


I also picked up a little knit fabric to make another that matched his favorite shorts.  I bought half a yard, which made for an inexpensive shirt ($2.50), except that I realized (after I made it, of course) that I cut it out the wrong way.  The fabric stretches vertically instead of horizontally like it's supposed to.  It does fit him, but it's a little snug getting it on.  I may have to buy a little more fabric next time to make sure I can cut it out the right way, but it will likely still be cheaper than buying a shirt from the store - plus I get the fun of making it!

I'm not sure what those spots were, since this was right after I finished making it, but they came out in the wash!  =)

I definitely recommend this pattern!  It was quick and easy and fit great!  The neck ribbing seemed a bit small to me, so I cut it a couple of inches longer, which still is a little snug around Ben's head, but other than that, the fit is perfect.  I'm hoping to get a couple more shirts made for him, but these are a great start!

Saturday, April 20, 2013

(More) Curtains in my Windows


It is very exciting to me that (finally!) after nearly a year and a half in our home, all of our windows have curtains!  Yay!  It is just as exciting that the last set of blinds finally came down!  I absolutely love the fact that I have NO blinds to clean.  Ever.  All of our windows have close-able curtains only, with the exception of the kids' room, where I also added a room-darkening shade.  I will say that I hate shades almost as much as I hate blinds, and this shade is no exception as it is already broken after being in place for about a month.  But...I also place a high value on sleep, which is aided by having a dark room, and their curtains alone weren't cutting it.  I didn't really want heavy drapes in their room, so I went with the shade.  I may do something else at some point, but for now we're making it work.

Anyway, as far as the curtains....the laundry room:


This wasn't really the fabric I had imagined would be in here - I had kind of thought I would get something with blue.  But for some reason this grey/orange fabric grabbed my attention and I couldn't get away from it.  I loved that it was bold without being really bright and flashy - and it just so happens that the trim in the laundry room is a dark grey.  I had always planned on painting it someday, but now I guess I don't need to!  I'm actually kind of glad I didn't go with blue, as I already have lots of blue in the kitchen and dining room, so it's fun to have something different.  For the small window on the door, I found a matching orange and white flower print and added a little of the grey and orange fabric for trim.  I like that the curtains match but aren't the same.  Somewhere on my list of projects is to recover the ironing board - I'm trying to decide if a bright orange print would be too much, or if it would be a good complement to the curtains.


I also made new curtains for the dining room.  I liked the valances I had, but Seth wanted to have something that I could close when he was gone on his recent school trip.  I used one of my favorite fabrics - ticking - in blue, of course.  I had planned to make the curtains entirely out of the ticking, but measurements somehow got off, so they ended up too short.  I thought the ticking was a bit too plain anyway, once I saw it on the windows, so I decided to add a cheerful print to the bottom.  That worked perfectly, and I love the result!

Wednesday, April 3, 2013

To Bookmark for Next Year.....


This post would have been more helpful a couple of weeks ago, but, oh well - something to keep in mind for next year!

Last year I thought about purchasing Resurrection Eggs to help teach the Easter story to our kids, but they ended up being a bit pricey.  Then I found online tutorials for making our own, but for one reason or another never ended up getting around to it.  I did have the foresight to save some plastic eggs, though, so this year I was ready to go!


I found this tutorial helpful, since it gives some different options for what to include, depending on what you have around your house.  I was able to put together a set completely from things I already had, in about half an hour.  I did have to print off a clip art picture of praying hands, and I made a spear by cutting off the sharp part of a skewer, and then made a cross by hot gluing together a couple of pieces of the remainder of the skewer.

We started using our eggs about a week before Easter, using them kind of like an "Easter Advent" activity, opening and discussing two eggs each night.  Some nights I read the corresponding story from a children's Bible.  Each night we would review the previous eggs, as well, to help them remember the story better.

Because our kids are still little, I was a little unsure of how much detail we wanted to go into with some of the eggs.  So we just explained to them that the whip, nails, etc. were used to "hurt Jesus", and that he "died on the cross".  That worked well for us.


Our kids LOVED these, and looked forward to opening them each night.  By the end, all of them, even Ezra, had a good grasp of the story.  I love that we have a fun hands-on way to teach the Easter story, and I love that we now have a great new Easter tradition!

Tuesday, March 26, 2013

Sewing: Clothes

Although I made lots of clothes when I first learned to sew, I haven't done as much in recent years.  I have made a few things for the kids, but not much, simply because they haven't needed clothes.  I realized recently, though, that if I don't make them a few things now, when they're young and will actually wear what I make, I'll someday regret it.  And, as they get older, I'm finding they have more gaps in their wardrobe that need to be filled, so sewing a few things seems like an obvious solution.

So far, Joanna is the first of the kids to receive new mommy-made clothes, as I whipped up a couple of summer dresses for her.  Sometimes, buying fabric can make sewing clothes more expensive than buying new (especially those on clearance!), so I've been trying to be a little creative with my fabric sources.  I found some fabric and a cute tablecloth at Goodwill, and by buying both on a sale day, I made both of Joanna's dresses, and a skirt for me, for about $5!


For this dress, I used the free Summer Picnic Dress pattern from the Cottage Mama.  It was easy to make and turned out adorable!


This dress is a basic "pillowcase dress" (although I made it from a tablecloth instead!).  Cute and simple, this will probably be my go-to design for summer dresses for the next couple of years.  Although definitely more basic than the Summer Picnic Dress, it is still very cute and was so much quicker to make!


I had enough tablecloth fabric left to make a cute skirt for myself.  I used this tutorial, although I followed a suggestion in the comments to eliminate the elastic and make a wider, fold-over waistband from the knit fabric.  It turned out great and the knit waistband is so comfortable!  Although it's technically a maternity skirt, I have a feeling it's going to be especially useful at the end of the summer, after the baby is born!


While I was making a flannel shirt for my dad for his birthday, Seth kept hinting that he'd like one, too. How could I ignore that?  So I made another and managed to get it finished just in time for his recent school trip.  

Next on my clothes list is some summer shorts for the boys, and probably some t-shirts for Benjamin.  This tutorial makes t-shirts seem really easy.

Saturday, March 2, 2013

A Finished Room

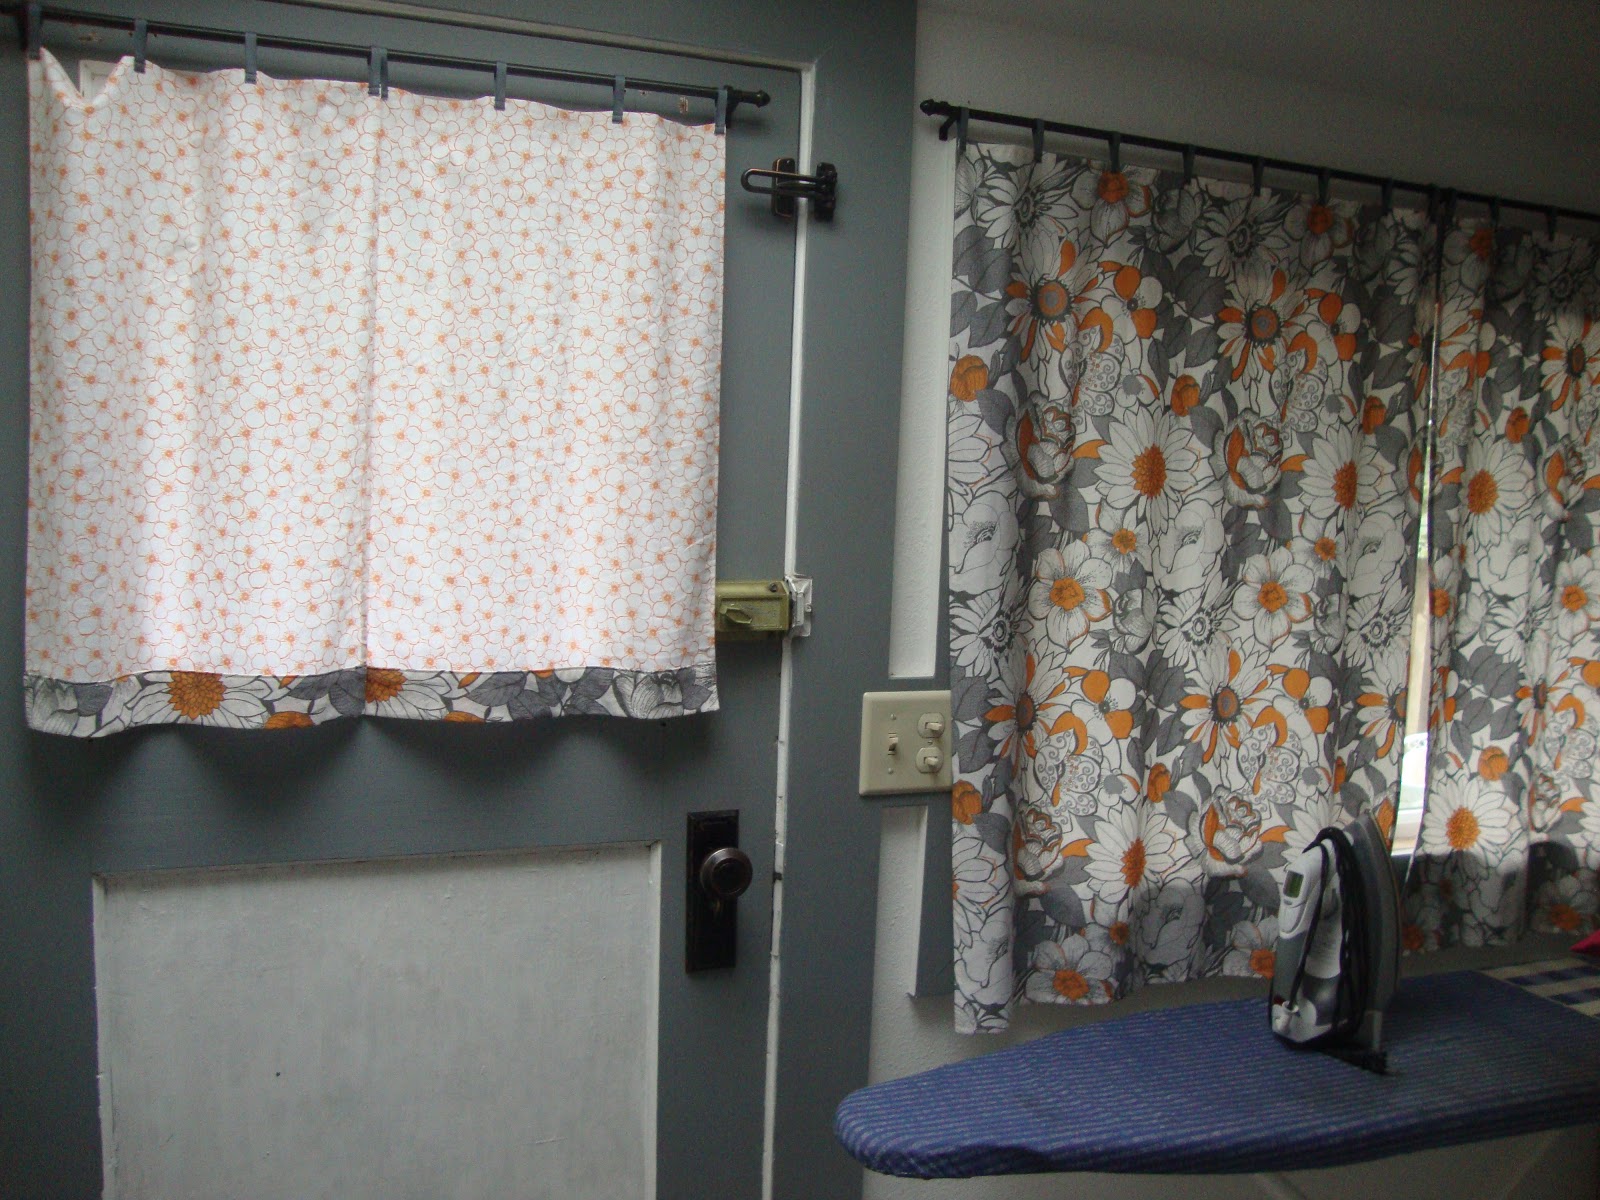
It all started with curtains.  Seth had been wanting to re-do our office (library, hobby room, etc.) ever since we moved in, but when I made him a pair of curtains for the room, he was inspired to get started on the rest of it!  The important thing is not how long it took, but that we actually finished, right?  So who cares that it took six months to finish putting our office together!  =)

As a reminder, here's how it looked originally:

I should clarify that at its best, the room did look nicer than this.  This was the only
picture I had, and it was just after we moved in, before we got it organized and when
we were still using the room to store things until they found a permanent home.  
Seth started by tearing out the ugly built in bookshelves.  Then he pulled up the carpet, revealing the wood floor underneath.


We decided that rather than sanding down the floor to look new, we actually liked the look of the worn, paint-splattered wood, so Seth just lightly sanded to remove splinters, and we then varnished right over top of it all.  We love that it looks old.


We painted the room a dark brown.  I was a little worried that it would look too dark and dreary, but it actually makes the room look warm and cozy, and it looks nice next to the yellow living room.


The highlight of the room, at least for us, is the new bookshelves Seth built.  He used old bricks (free off Craigslist!) and long pieces of wood to build a wall-to-wall, floor-to-ceiling bookshelf.  We love how it complements the brown walls and wood floor!  It looks so much nicer than the old bookshelf, and it takes up less space, which makes a big difference in a small room.

Ezra always wants to be involved in whatever we are doing!
And he loves getting out "his" tools.
(We have the Green Toys toolbox - and we highly recommend it!)
There were lots of willing "helpers"!

And now, after all these changes, we have an office that looks like this:


We found a comfy chair at the thrift store, but I loved how it looked in the living room, so Seth had to find another one for the office!  It makes a cozy reading spot.

I couldn't help that this chair matched perfectly with my curtains!  =)
This new one works just as well in the office - and now we have two cozy chairs to enjoy! 
My sewing station looks much the same, except that my storage bins moved, and I added a thread rack on the wall, which I absolutely love!  Not only does it keep my thread easily accessible, but it looks so nice with all the pretty colors!


Although the room is technically "done", we still have a few improvements we're hoping to make.  I'm hoping to find a few more nice baskets or bins for storage under the bookshelf.  We have a new (old) light fixture we're planning on switching out with the one that is currently in the room (that one will be going in the living room to replace the really ugly one there).   We're also on the hunt for a cute, small (but tall) dresser to replace the plastic drawer bins I am currently using to store sewing and craft supplies.

We are so pleased with how this room turned out - and it is so fun to see how much can be done on a small budget!

Sunday, February 24, 2013

Do Cloth Diapers Really Save Money?


I know using cloth diapers has saved our family lots of money, but I was thinking about it the other day and wondering just how much we have saved by using cloth.  So I thought I would run some numbers for fun!  These are estimates, but I think they're probably pretty good estimates.

- I figured based on what we have done so far - about 6.25 years total (between all three kids).
- Most disposable diapers are packaged to last about a week, so that's what I went with.
- I used the cheap-o disposable diapers price of about $7 a package.
- I estimated about $3 a month for wipes, based off prices I saw and how many wipes I typically use.
- I figured about $1 a week as the cost of laundering cloth diapers.  (This one's a really rough estimate - I really have no idea, but I don't think it's that much, especially in the summer when I line-dry diapers.)
- I figured in our total out-of-pocket cost of buying cloth diapers and supplies (about $100).

Based on these numbers, so far, we have saved about $2075.  I was actually kind of disappointed with that number - I had thought it would be more.  But that's still A LOT of money that we haven't had to spend!   And I'm keeping in mind that:

- Although the final number isn't as big as I thought, that $28 or so that we save each month does make a difference in our budget (and especially the $56 a month we saved when we had two in diapers!).
- That number doesn't include how much we've saved using cloth training underwear instead of Pull-ups (that is probably a large number, too, especially considering that Joanna has been out of diapers for nearly a year and still does not stay dry at night).
- That's just how much we've saved so far.  We'll have saved even more by the time Ezra and this next baby are out of diapers.
- That number would nearly double if I figured it based on buying more natural disposable diapers (which would be my preference if I were using disposables).


However, the number that did really amaze me was the number of diapers we've used over the years.  By averaging that each child has used about 7 diapers a day (infants use more but toddlers use slightly less), I learned that we have gone through well over 15,000 diapers!  I can't even imagine the garbage pile that would be made by 15,000 diapers (and growing).  Even if the money and health savings (because of less chemicals) weren't a factor, for me that's enough of a reason to stick with cloth!

Saturday, February 16, 2013

Valentine's Day...and a Three Year Old!

Early last week we were able to do a couple of Valentine's projects:

The kids made these fun heart prints (found here):


I made these fun M&M pouches from by sewing squares of vellum together (I can't remember where I got the idea):


Seth had the day off on Thursday, so we were able to have a nice day at home celebrating Valentine's Day and Joanna's third birthday!

I don't usually decorate for holidays (except Christmas), but I thought the kids would enjoy something a little special, so I hung a bunch of paper hearts in the dining room, which was fun!


We were able to enjoy a nice Valentine's Day breakfast, complete with little gifts and treats!  


For another fun treat we used Red Vine "straws" to drink our milk at lunch!


The rest of the day was spent celebrating our big girl!


One of the little gifts in Joanna's birthday bag was these "Lolly Dollys" made from this tutorial.  They turned out cute, although they would have been even cuter if I'd had a few more washi tape designs!